How to Create Elegant Hair Pins for Your Wedding Day
- donaldfery
- Aug 9, 2025
- 5 min read
Updated: Aug 17, 2025
Weddings symbolize love and commitment, and every detail contributes to making the day unforgettable. One charming accessory that can enhance the bride's hairstyle is a set of elegant hair pins. These small but impactful additions lend sophistication and personalization to your wedding look, making the day even more special. In this guide, we will show you how to create stunning hair pins that will serve as unique keepsakes for your wedding celebration.
Choosing Your Materials
Selecting the right materials is crucial for crafting beautiful hair pins. Here are some specific options to consider:
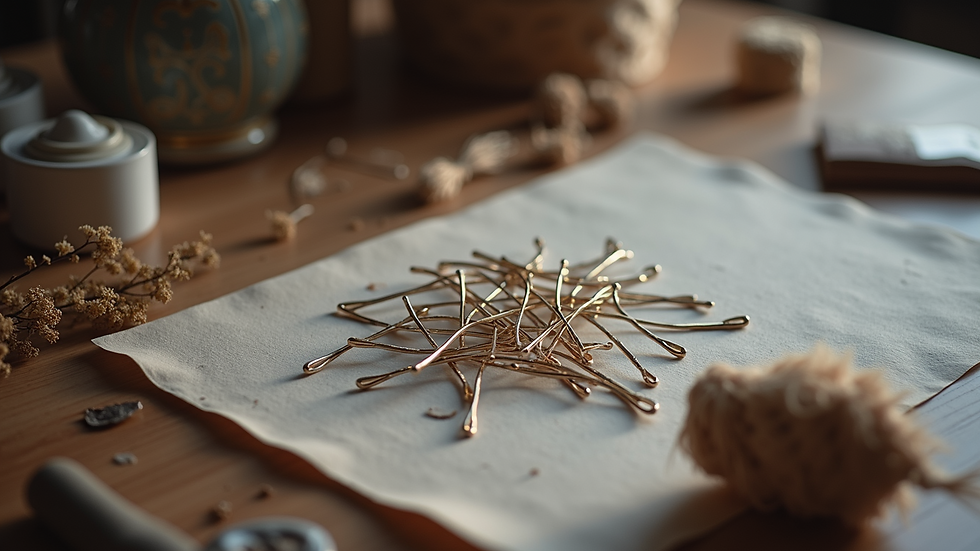
Base Pins: Begin with sturdy bobby pins or hairpins. You can find these at craft stores or online, typically priced between £3 to £10 for packs of 20. Choose colours that coordinate with your hair shade or overall wedding theme, such as gold, silver, or clear.
Decorative Elements: Enrich your pins with items like pearls (which can be around £0.50 to £2 each), crystals, silk flowers, or feathers. For a personalized touch, consider using twinkling string lights or small charms that represent your relationship. If your wedding has a specific theme or colour palette, ensure that your selections reflect that style.
Adhesives: A durable adhesive is vital for attaching decorations. While hot glue is commonly used, jewellery glue offers superior durability and is great for heavier items. For best results, allocate around £5 for a reliable adhesive.
Tools: Equipment such as pliers, scissors, and wire cutters (if using floral wire) is necessary. You can expect to spend about £10 on basic tools if you don’t have them at hand.
Gathering these materials lays a solid foundation for your hair pin creation.
Designing Your Hair Pins
Once you have gathered your materials, let your creativity flourish! Here are some design ideas to inspire your personalized hair pins:
Floral Accents: Attach small silk or dried flowers to convey a romantic aesthetic. For instance, each pin could feature a single flower, or you could group several together for a more dramatic effect. Research suggests that floral designs can enhance a wedding's romantic vibe by more than 30%.
Pearl and Crystal Combinations: For a timeless look, combine pearls and crystals. You could alternate them on a single pin or cluster them together for an opulent effect. Think about using a pattern, like a pearl flanked by two smaller crystals, to create a cohesive look.
Nature-Inspired Designs: Incorporate elements like leaves or twigs to achieve a bohemian style. A study found that nature-inspired designs can elevate wedding decor environments by creating a 20% more relaxed atmosphere. Use floral wire to shape these nature elements before attaching them to your base pins.
Personal Touches: Infuse character by adding initials or symbols that are significant to you and your partner. This could involve using small charms or painting symbols onto the pins. Such personal touches resonate deeply and can evoke fond memories for years to come.
Take a moment to sketch out your ideas or create a mood board. Visualizing your designs can help you stay organized and focused.
Crafting Your Hair Pins
With your designs ready, it's time to assemble your hair pins. Follow these steps to create your beautiful accessories:
Prepare Your Base Pins: If you're using bobby pins, it can be a great idea to paint or wrap them with ribbon to match your wedding colours. If you choose to paint, allow adequate drying time to avoid smudging.
Attach Decorative Elements: Use your adhesive to attach the chosen decorations to each pin carefully. For heavier decorative items, apply ample glue to ensure they remain firmly in place.
Allow to Dry: Set the pins aside to dry completely. This crucial step ensures that all elements stay attached.
Final Touches: After drying, inspect each pin for loose items. Reapply glue as needed. If floral wire is used, trim excess wire for a polished finish.
Test the Pins: Try the pins in your hair before the big day to see how they look. This offers a chance to adjust styling if necessary.
Creating these hair pins can be a delightful and fulfilling experience that lets you showcase your creativity just before your special day.

Styling Your Hair with Pins
With your completed hair pins, let’s explore hairstyle options that pair beautifully with them:
Updos: A classic choice for brides, an elegant updo can be enhanced with hair pins for both style and function. Consider styles like a bun or chignon and place your pins to maximize their visual impact.
Half-Up, Half-Down Styles: This versatile hairstyle showcases your hair while incorporating your pins. Secure the top section with the pins, adding a sophisticated touch that helps balance the look.
Loose Waves: For a more casual feel, loose waves can be accented with hair pins. Disperse the pins throughout your waves to introduce a whimsical element.
Braids: A braided hairstyle can be beautifully adorned with hair pins. Integrate them into the braid or place them strategically around the base for added visual interest.
Experiment with different styles before your wedding to find the perfect combination that showcases your hair pins beautifully.
Caring for Your Hair Pins
To maintain the charm of your hair pins, consider these care tips:
Storage: Store your hair pins safely, away from moisture and sunlight. A small jewellery box or soft pouch will protect them from damage, ensuring they remain pristine.
Cleaning: If your pins get dirty, gently wipe them with a soft cloth. Steer clear of harsh chemicals that might damage any decorative elements.
Repairs: If any decorations become loose, reattach them immediately with glue. Addressing such issues before the wedding is essential to avoid any mishaps on your special day.
Proper care will help keep your hair pins looking spectacular for your wedding and beyond.

Embarking on Your Hair Pin Journey
Creating your own hair pins for the wedding day adds a unique and personal touch to your bridal look. By choosing the right materials and letting your imagination guide your designs, you can craft elegant accessories that embody your style and complement your hairstyle. Whether you go for floral accents, sparkling pearls, or other distinctive designs, your handmade hair pins will hold cherished memories of your wedding day.
As you gear up for your celebration, remember that the little things make a big difference, and your hair pins are no exception. Enjoy the crafting journey and cherish the moments spent preparing for this beautiful occasion!
Final Thoughts on Your Hair Pin Adventure
As you embark on this creative journey, remember that every detail counts. Your hair pins are not just accessories; they are reflections of your personality and style. Take your time to explore different designs and materials. Enjoy the process of crafting something truly special for your big day.
When you wear your handmade hair pins, you’ll carry a piece of your creativity and love with you. They will not only enhance your hairstyle but also serve as a beautiful reminder of the effort and thought you put into your wedding preparations.
So, gather your materials, unleash your creativity, and let your hair pins shine on your special day!


Comments